Quickstart — your first hour with Honeyframe
This page maps to the canonical post-install flow. Every screenshot is captured by an e2e Playwright suite that runs against a live deploy on every release — if a button moves or breaks, the test fails before the screenshot is taken, so the doc and the working feature stay in lockstep.
Prerequisites
- Honeyframe installed via Standard Install.
- Browser access to the install URL (printed by the setup banner).
- Admin email + password from
install.conf(or temporary password from setup output).
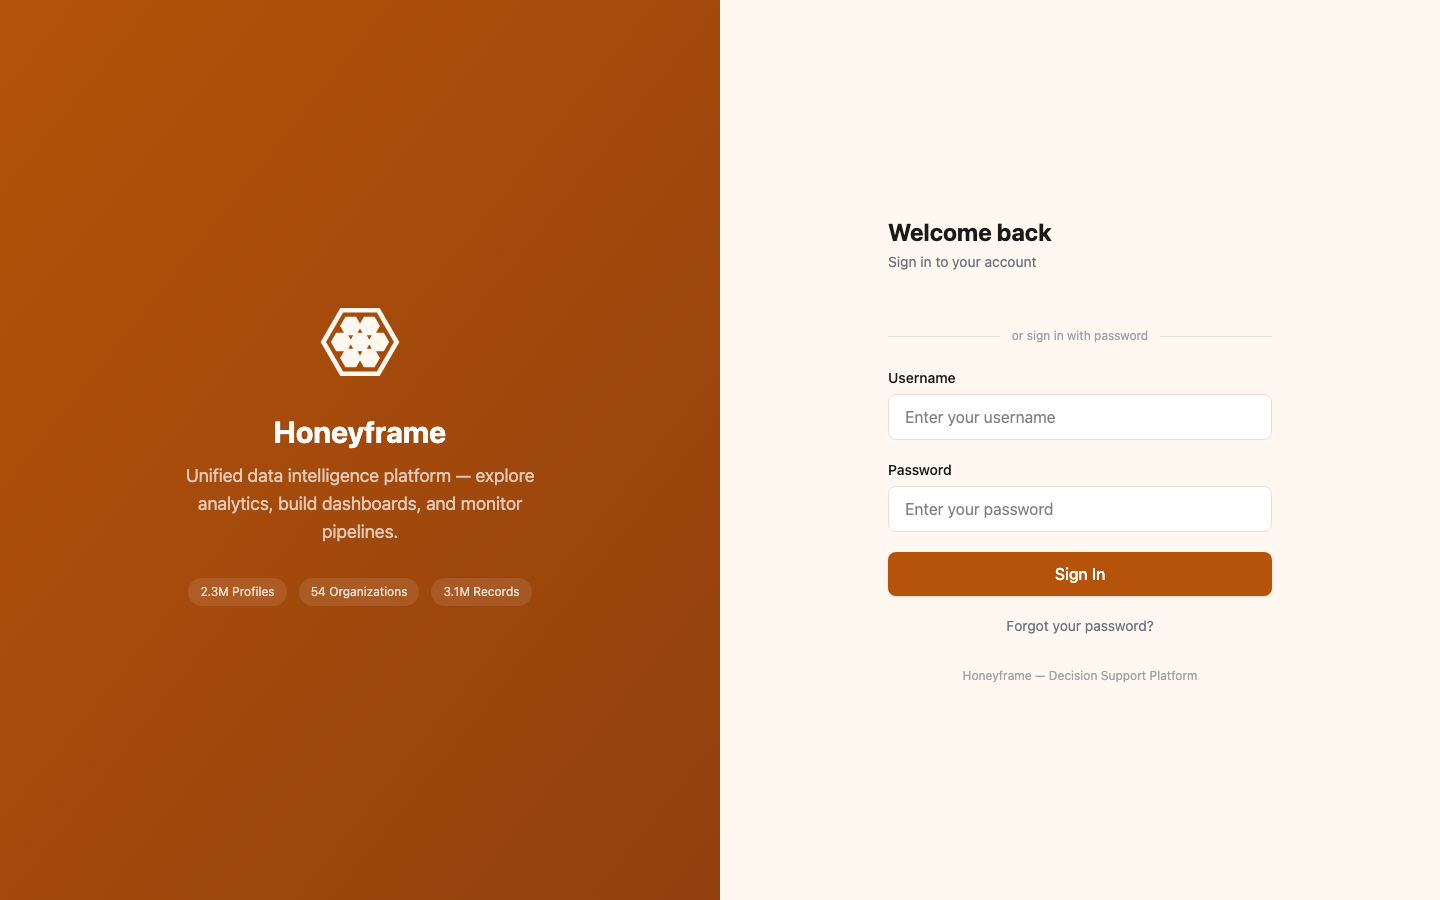
1. First login
Navigate to the install URL. You'll see the login screen:
Forced password reset
On first login, Honeyframe forces a password change. The change-password page is a separate gate before any other surface loads.
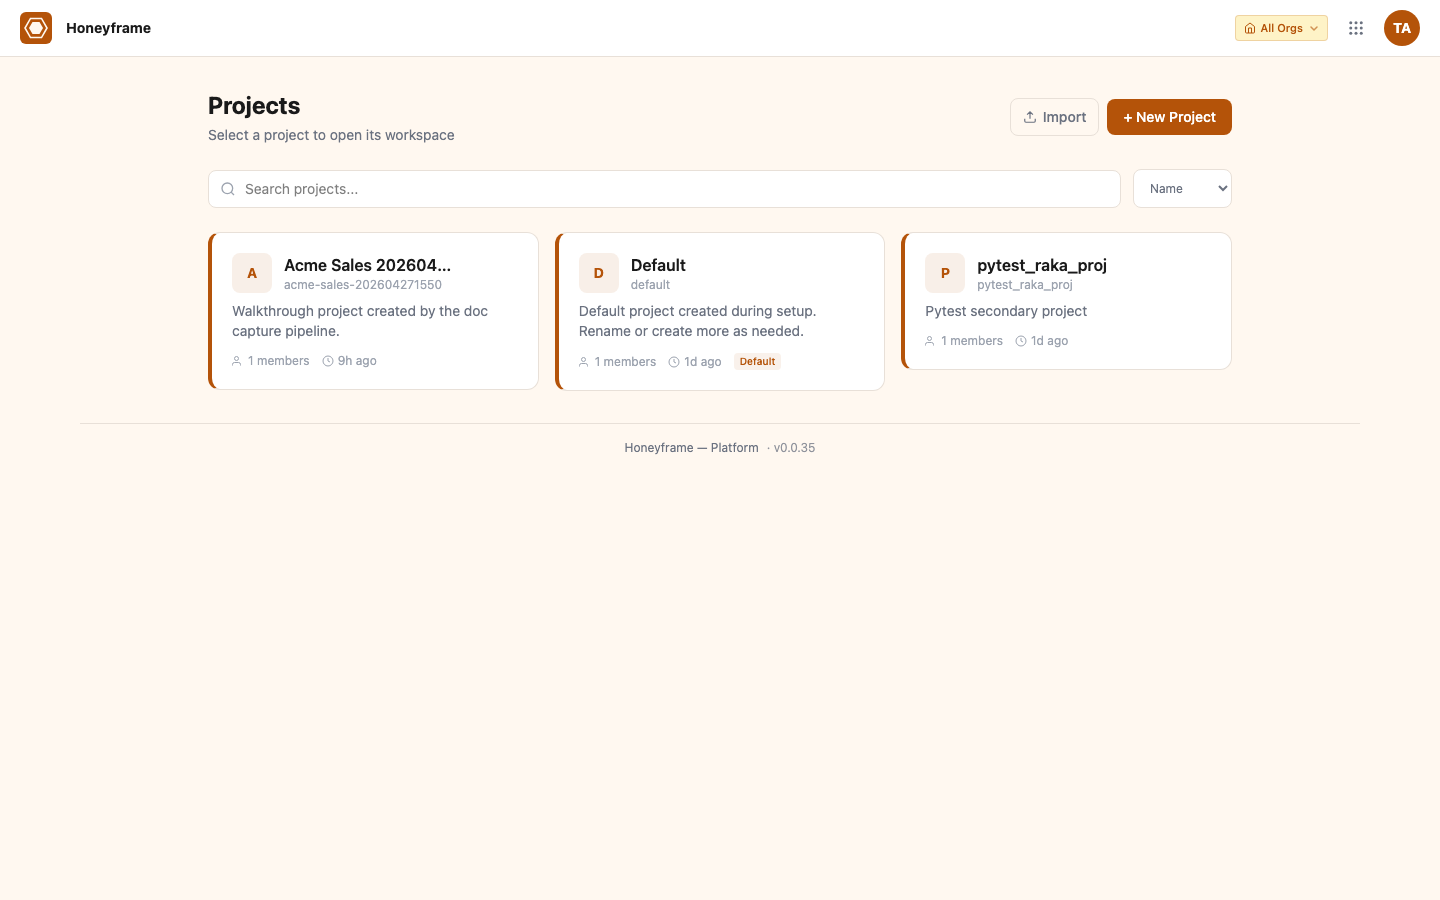
2. Land on Projects
After the password reset, you land on the Projects list. The install seeded a Default project so you have somewhere to work immediately:
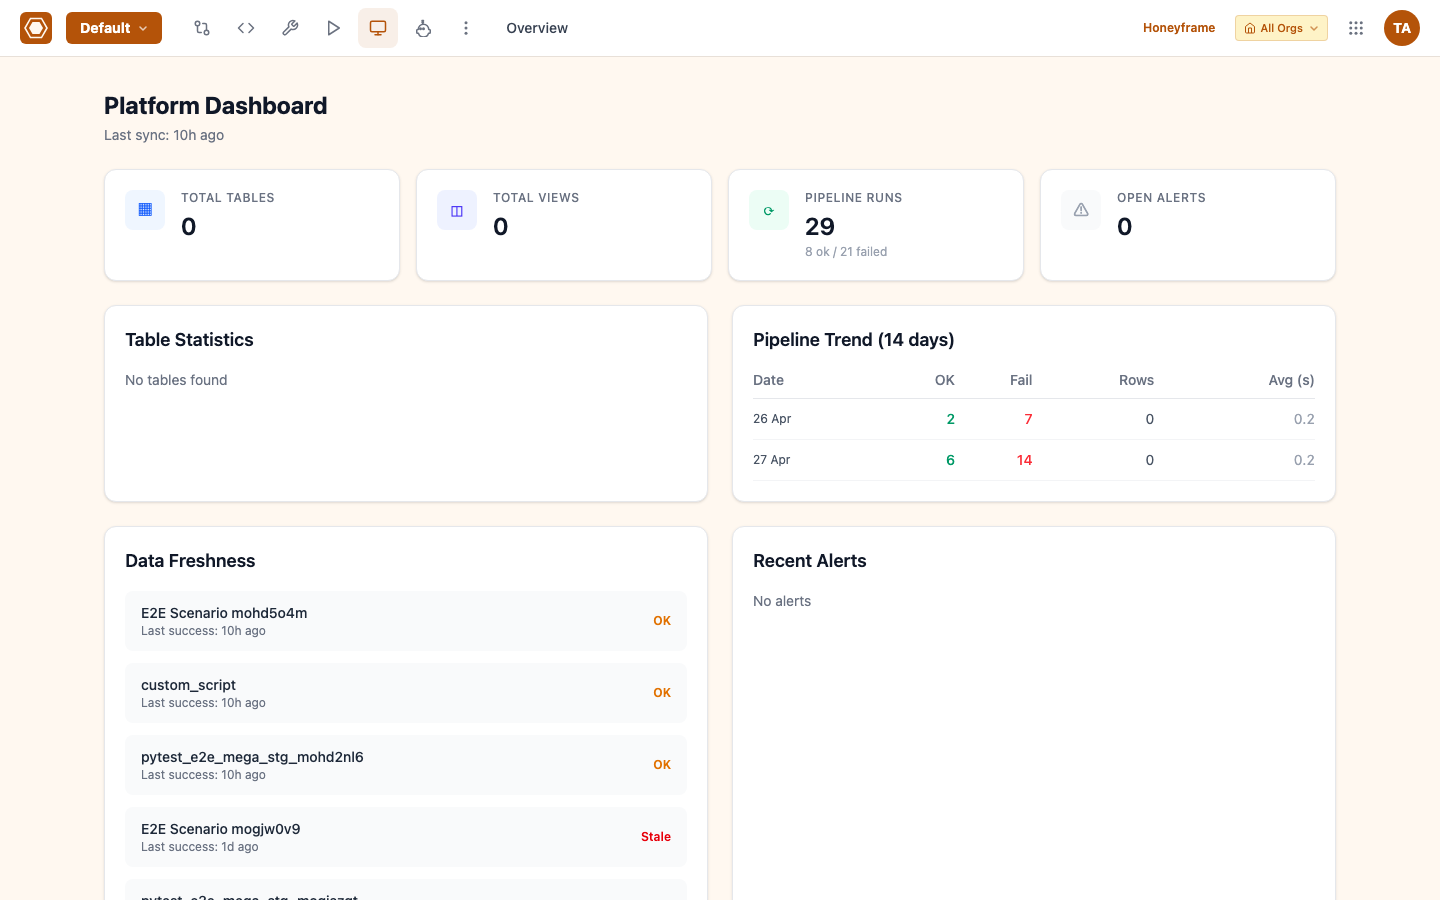
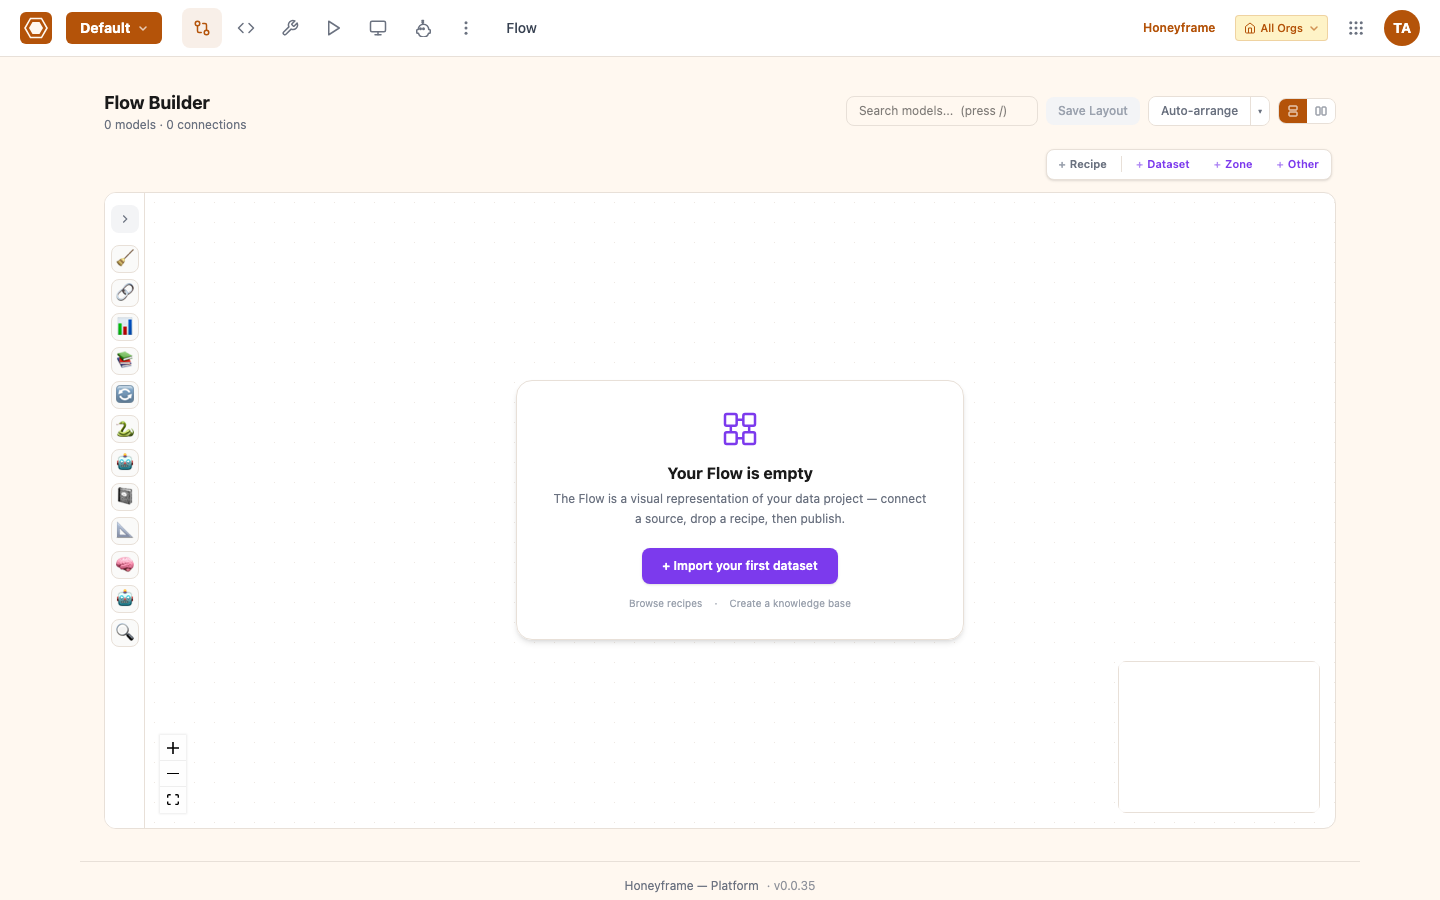
3. Empty dashboard
Click into Default. The empty dashboard is your starting point:
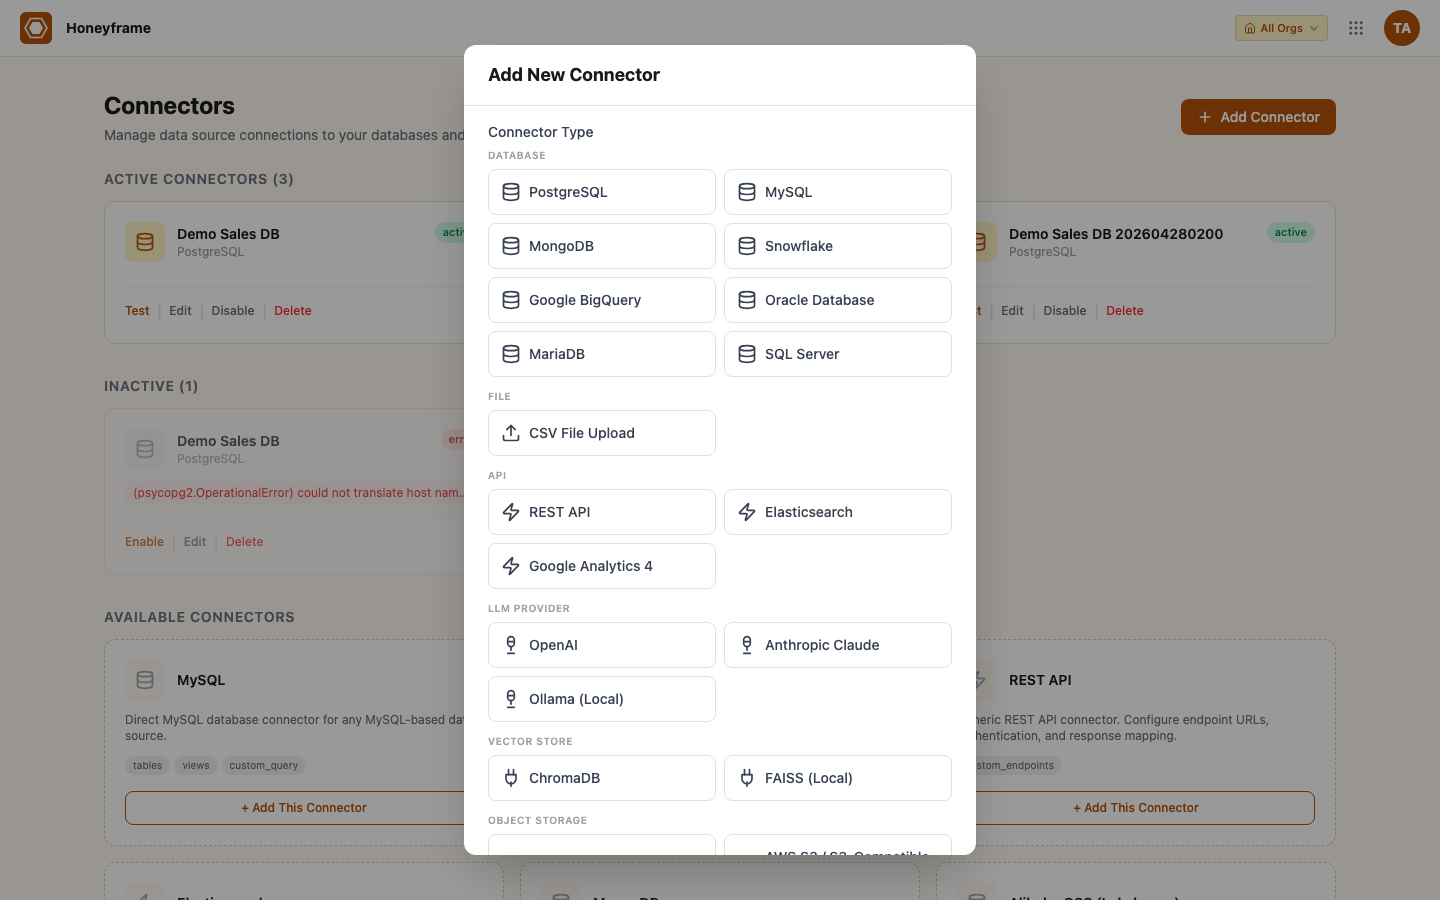
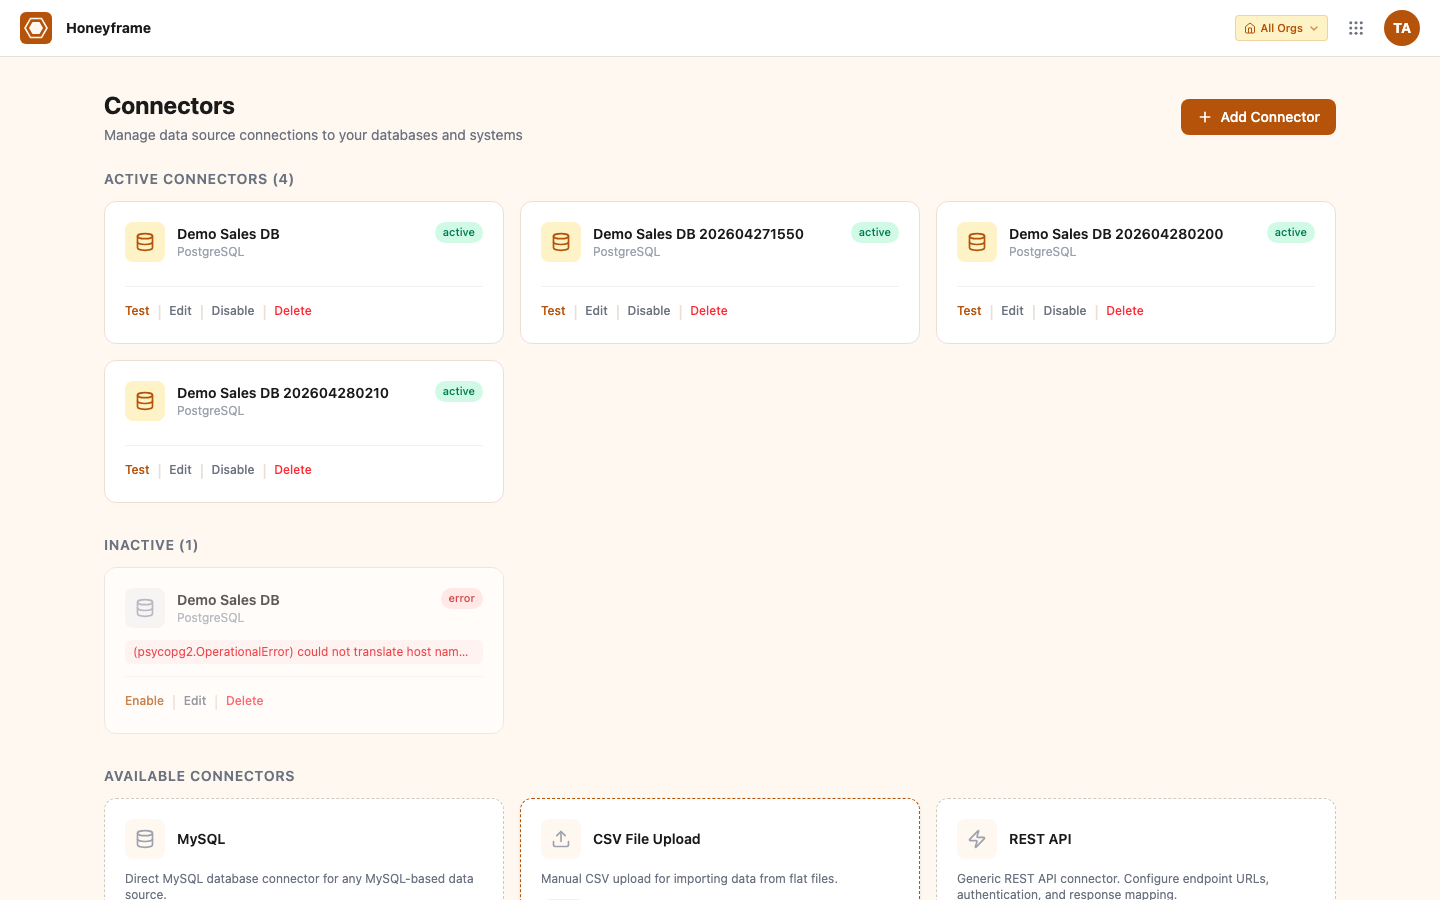
4. Add your first connector
Go to Connectors in the left nav. The page is empty on a fresh install:

Click + Add Database Connector (or + Add Connector for non-DB types). The type picker shows every supported connector:
Pick a type, fill the type-specific fields, submit. The connector appears in the catalog with a Test button:
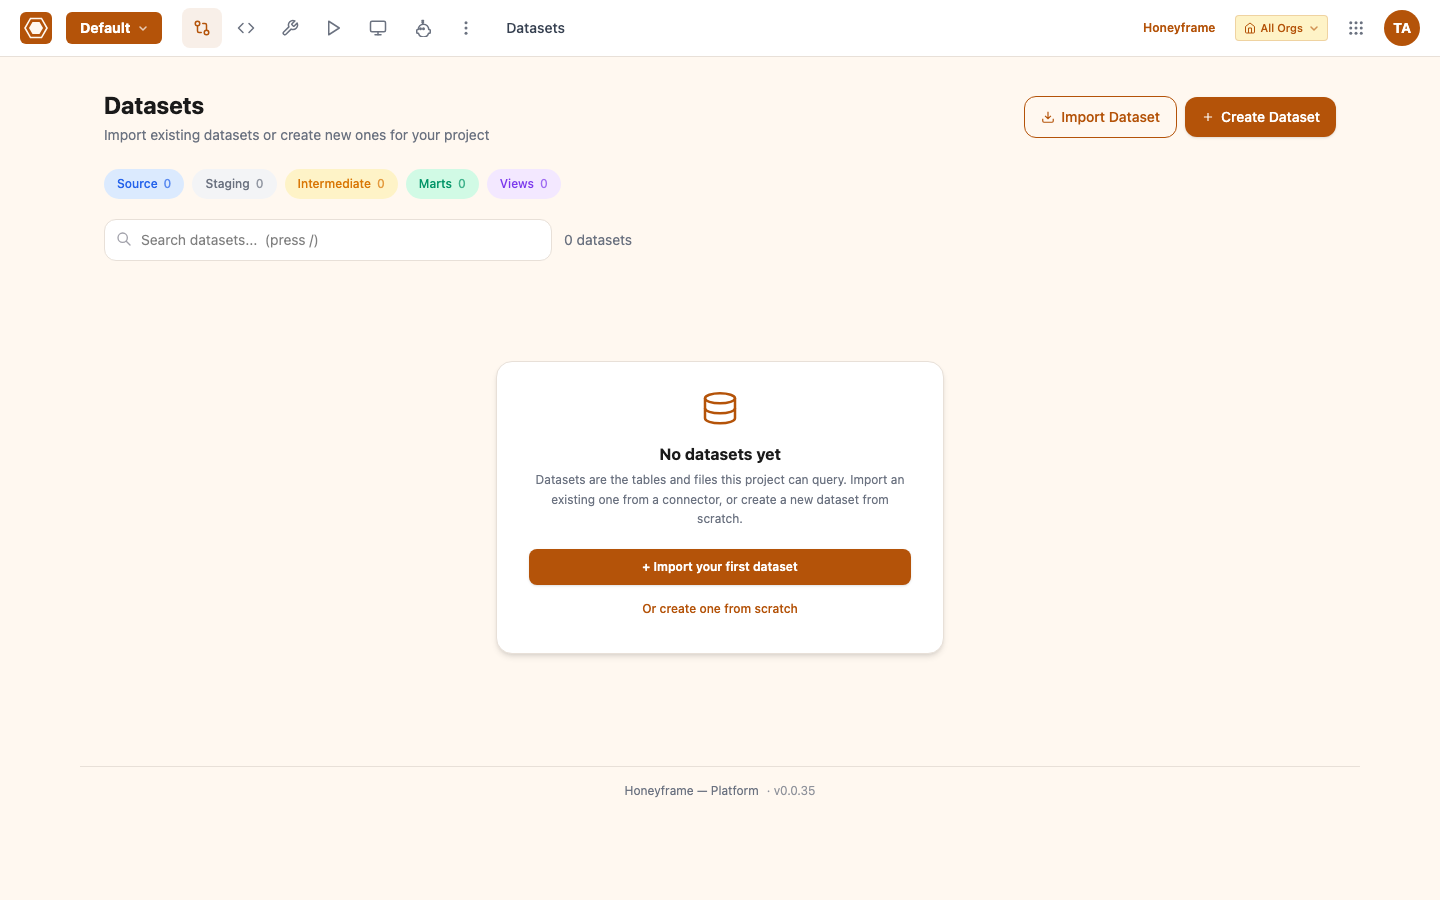
5. Create your first dataset
Honeyframe operates on datasets — queryable, governed views of data.
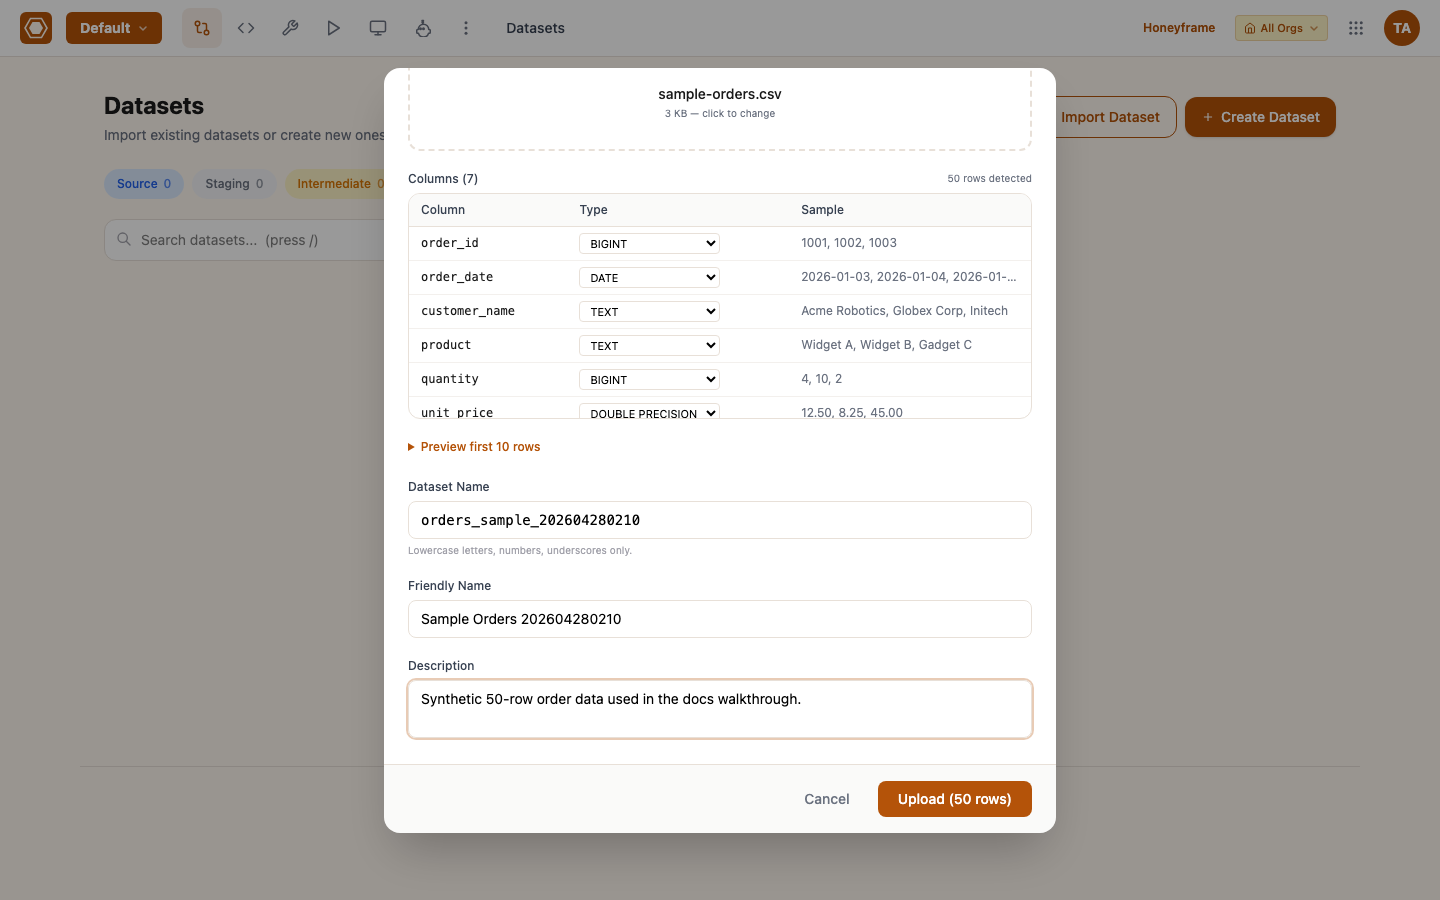
Drop a CSV or Excel file. The modal shows a row-count + column-type preview before you commit:
6. Build a recipe via Flow Builder
Recipes are authored on the Flow canvas. Drag a block from the left palette:

In SQL mode, type a self-contained query or reference upstream datasets via {{ ref('upstream_model') }}:
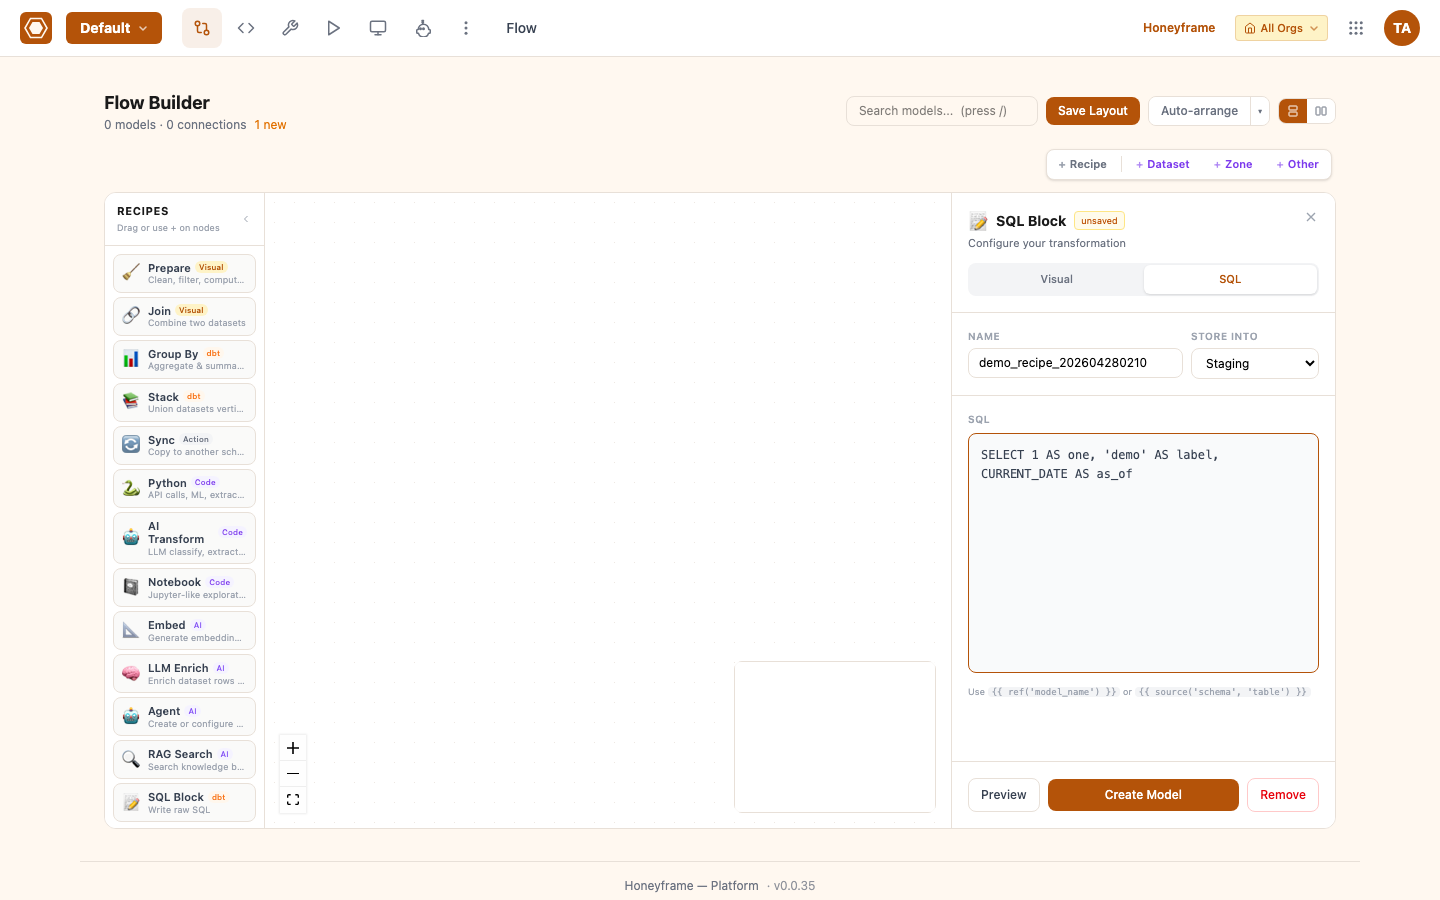
Click Create Model. The block compiles and runs immediately:
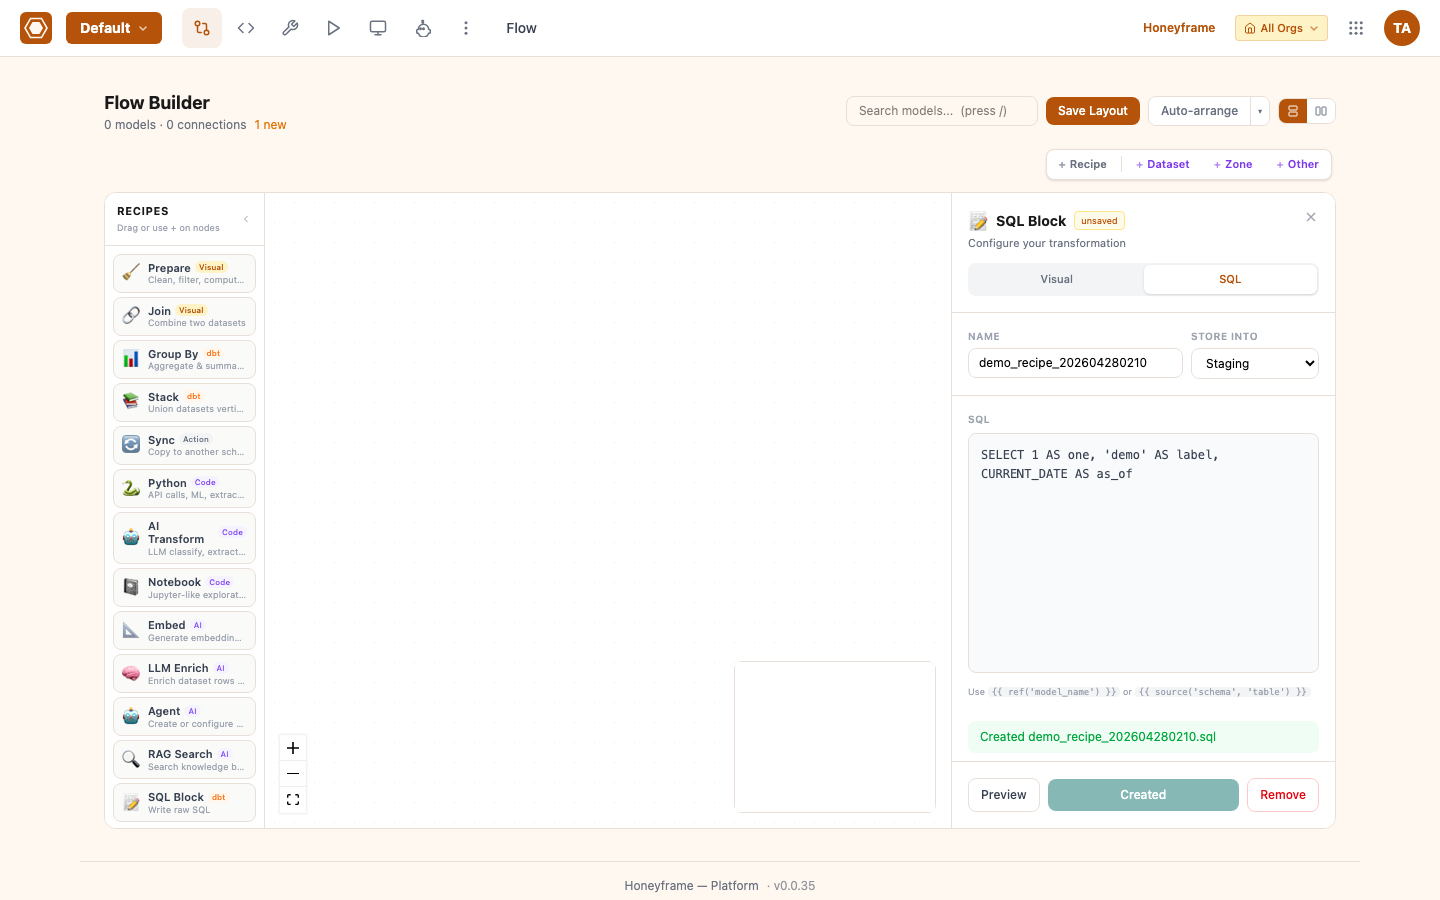
The Flow now shows the recipe block plus its downstream model node — your data lineage, captured automatically:
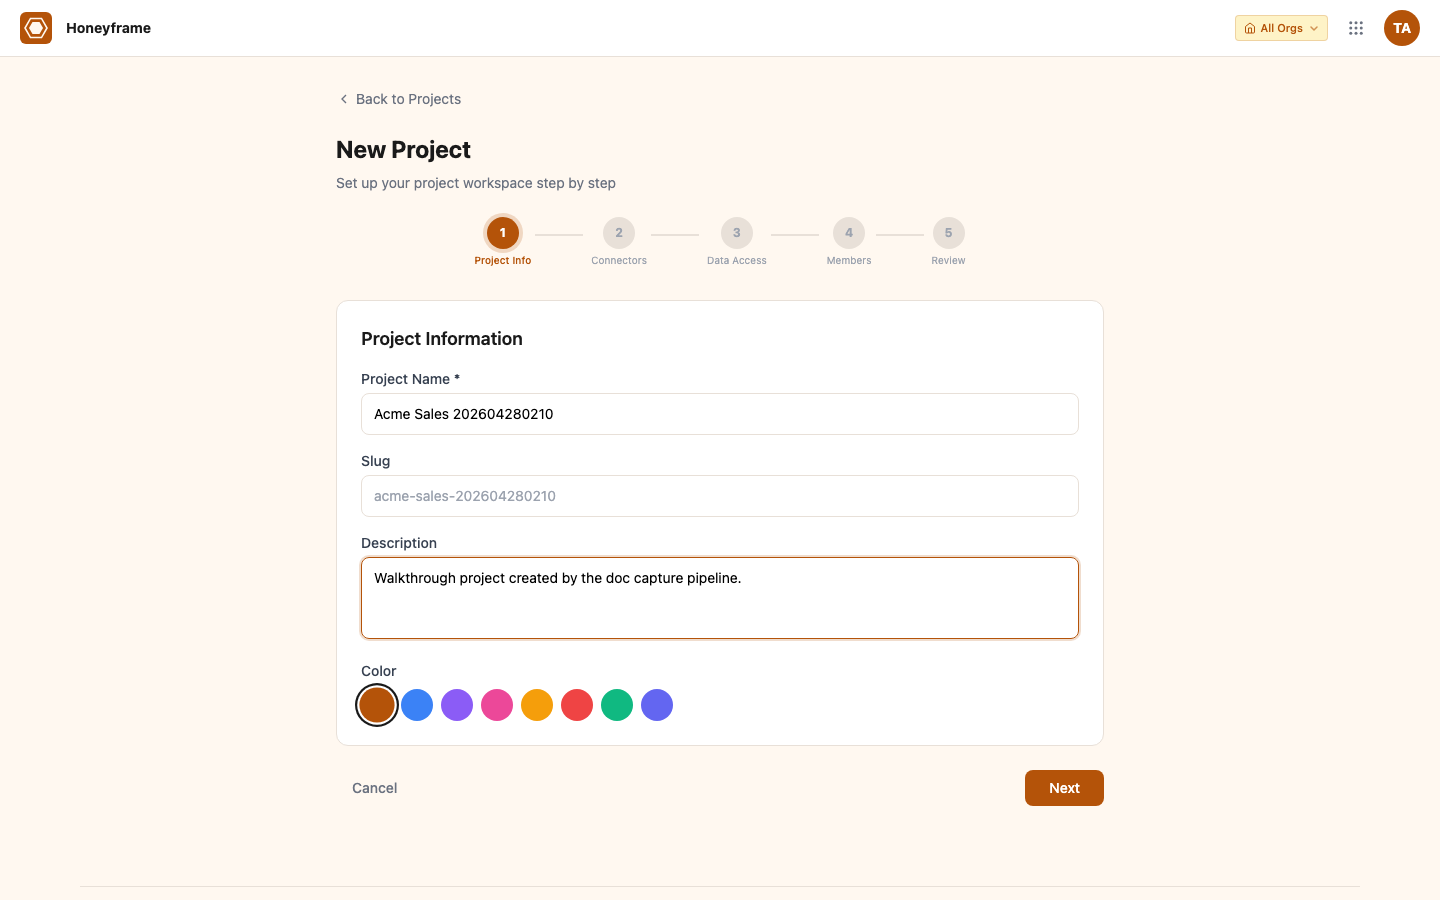
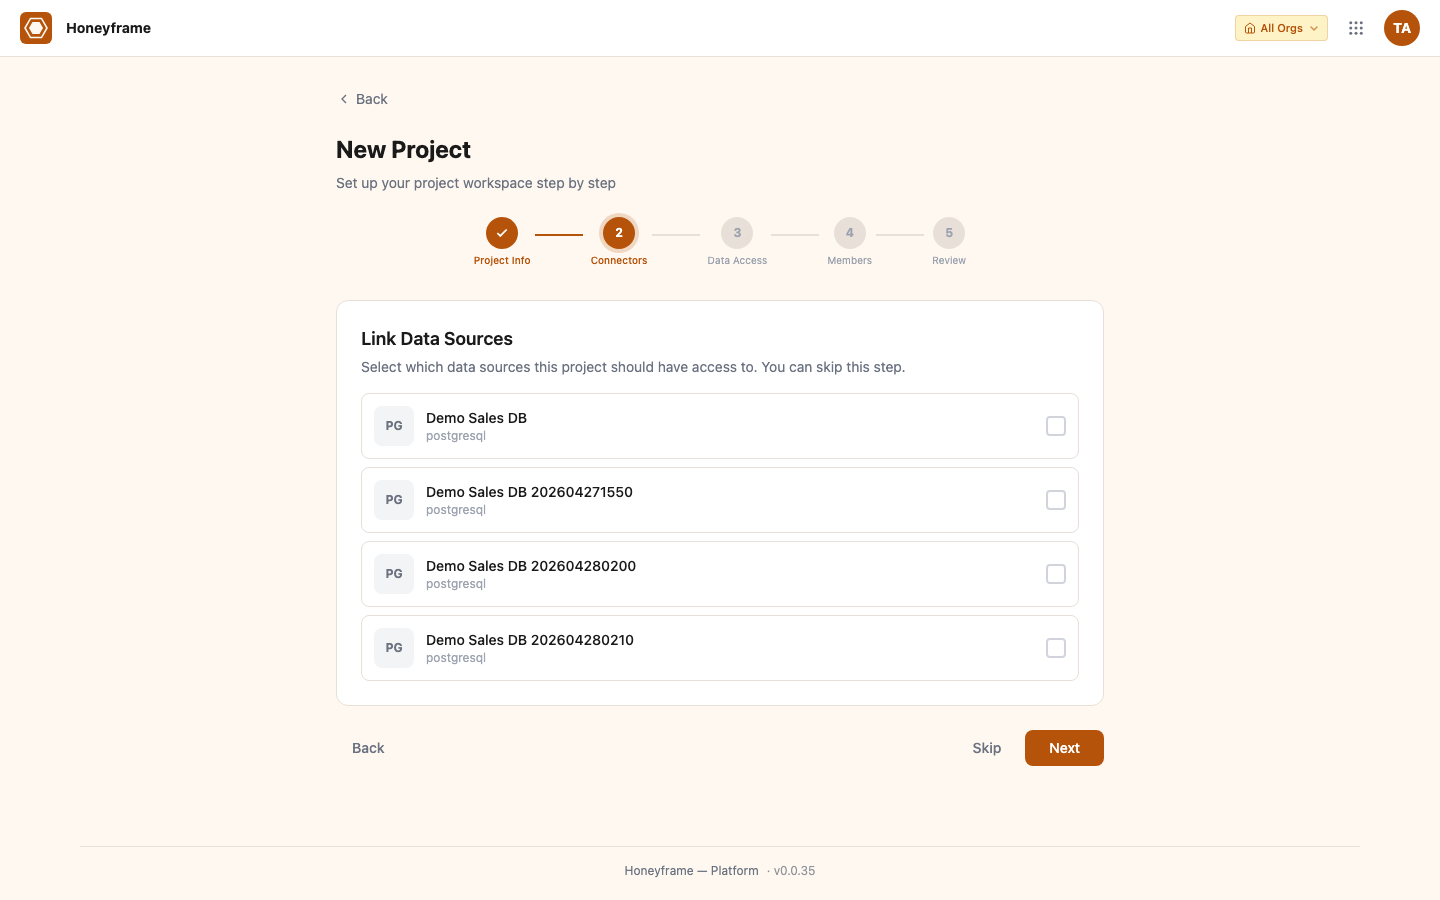
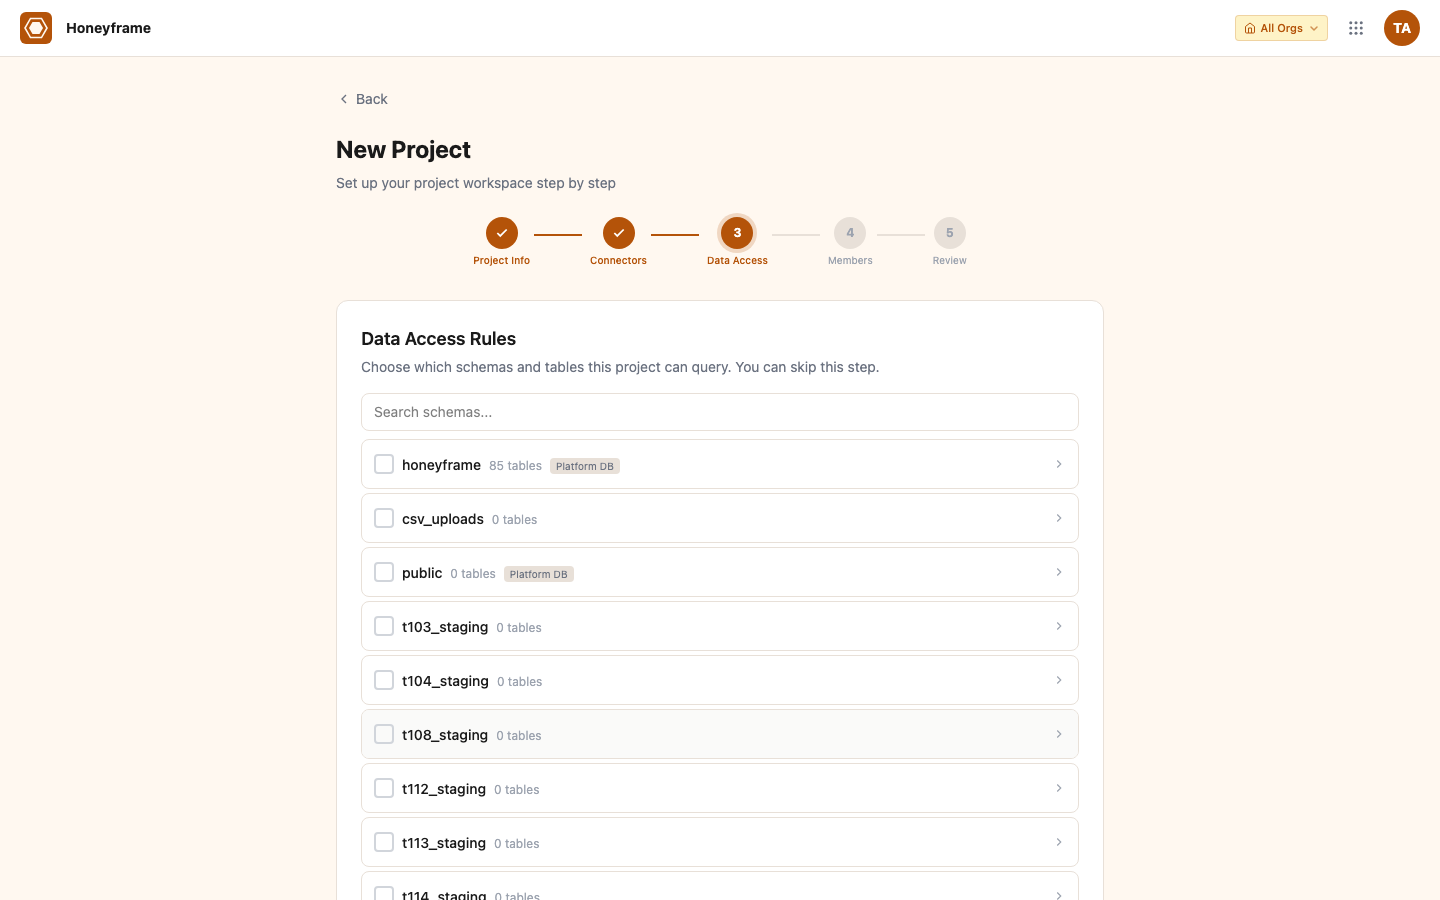
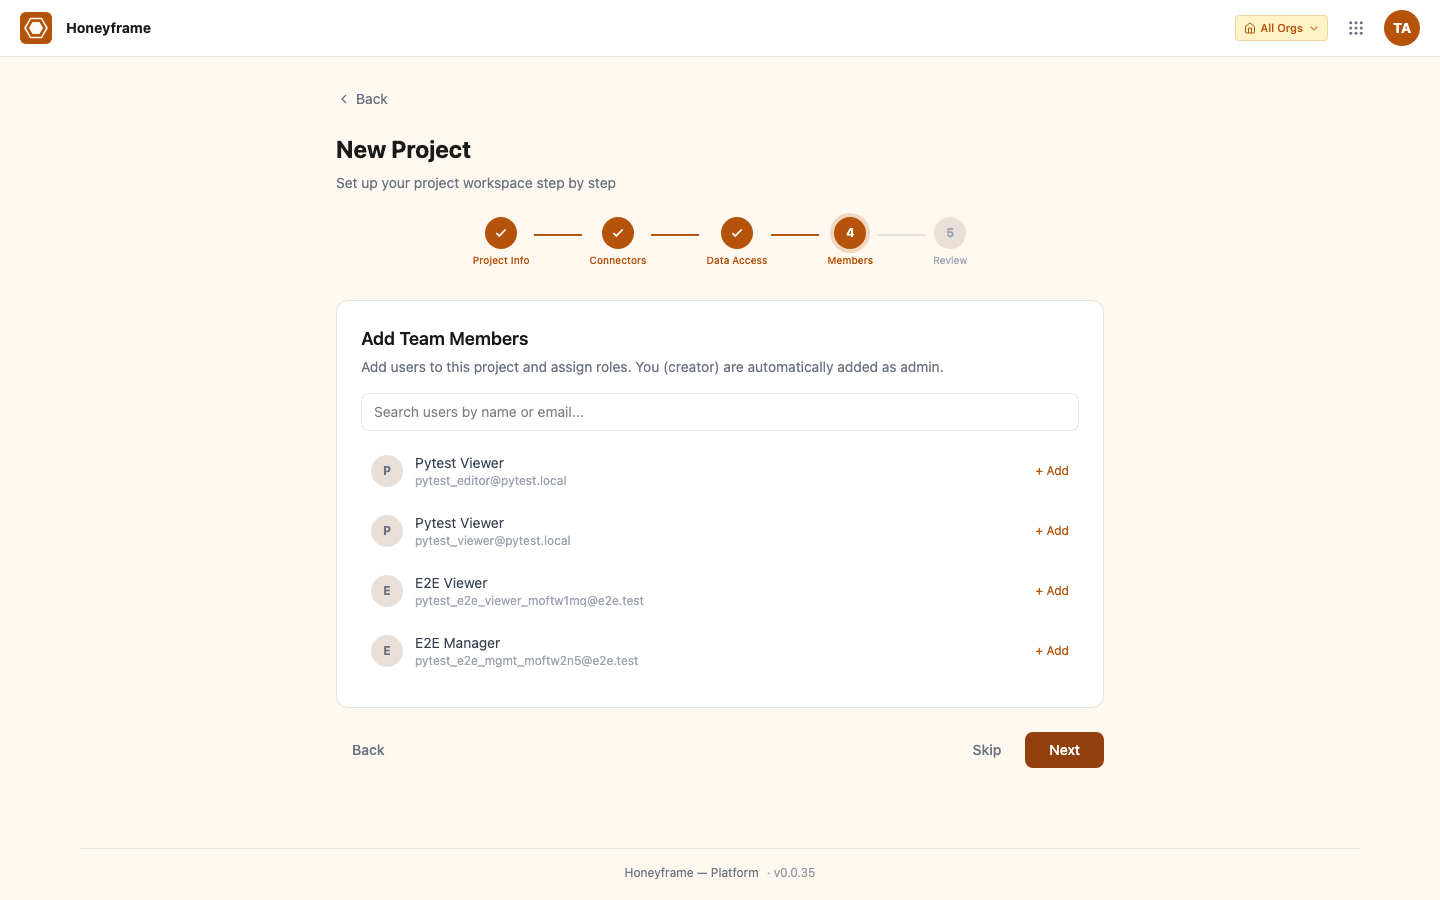
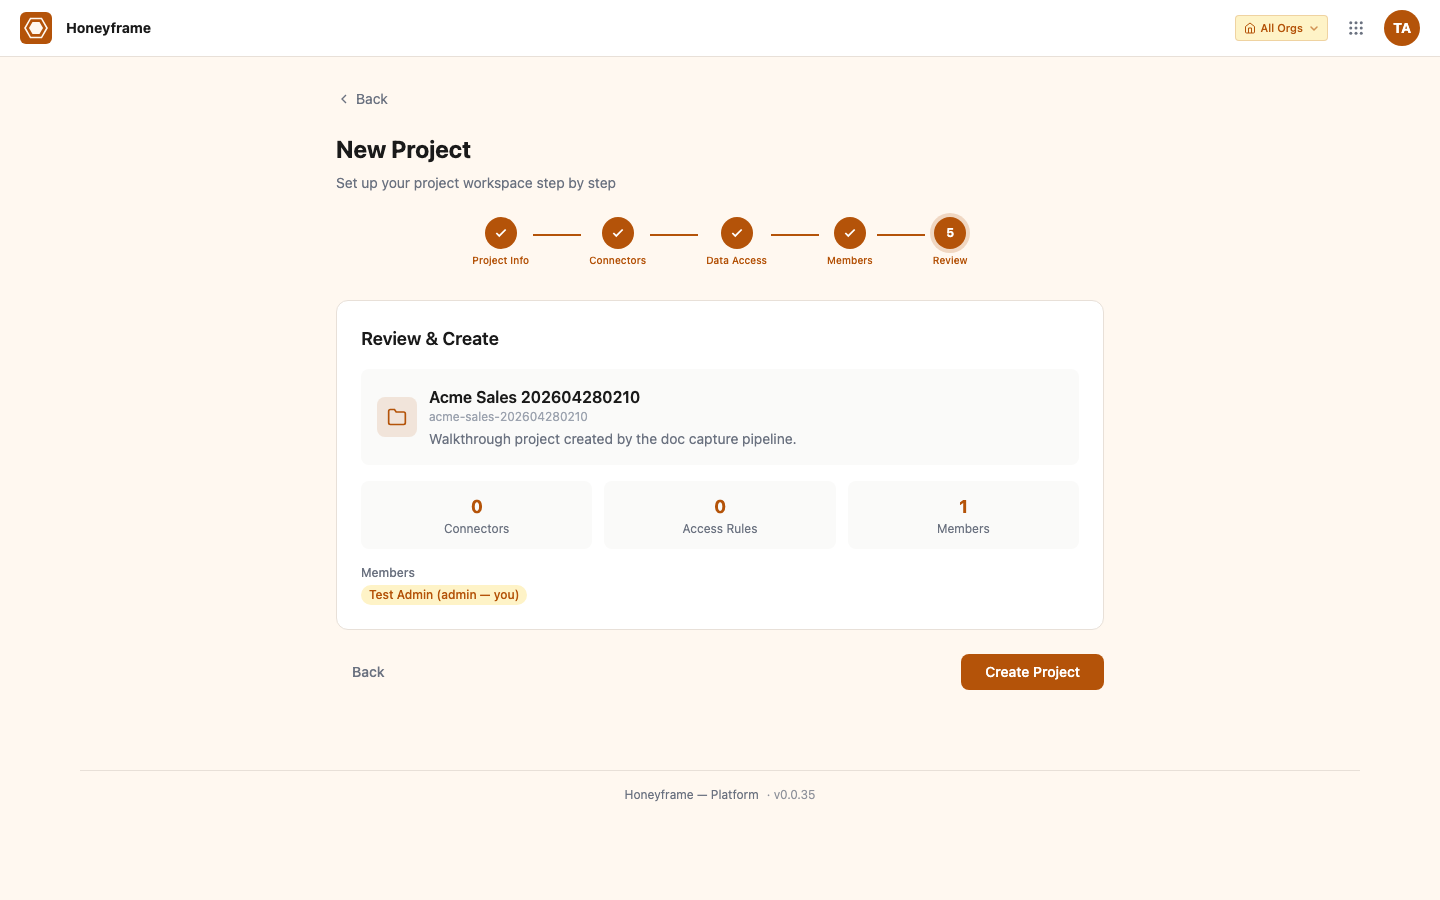
7. Create a second project (the wizard)
The seeded Default project bypasses the project setup wizard so you can start working immediately. When you create your second project, the 5-step wizard guides you through connector linking, data access, and members.
Step 0 — Project info
Step 1 — Link Data Sources
Step 2 — Data Access
Step 3 — Members
Step 4 — Review
After Create Project, you land on the new project's empty dashboard:
8. Invite teammates
Honeyframe separates organization users (who can sign in) from project members (org users with a role on a specific project). Adding a teammate is a two-step flow.
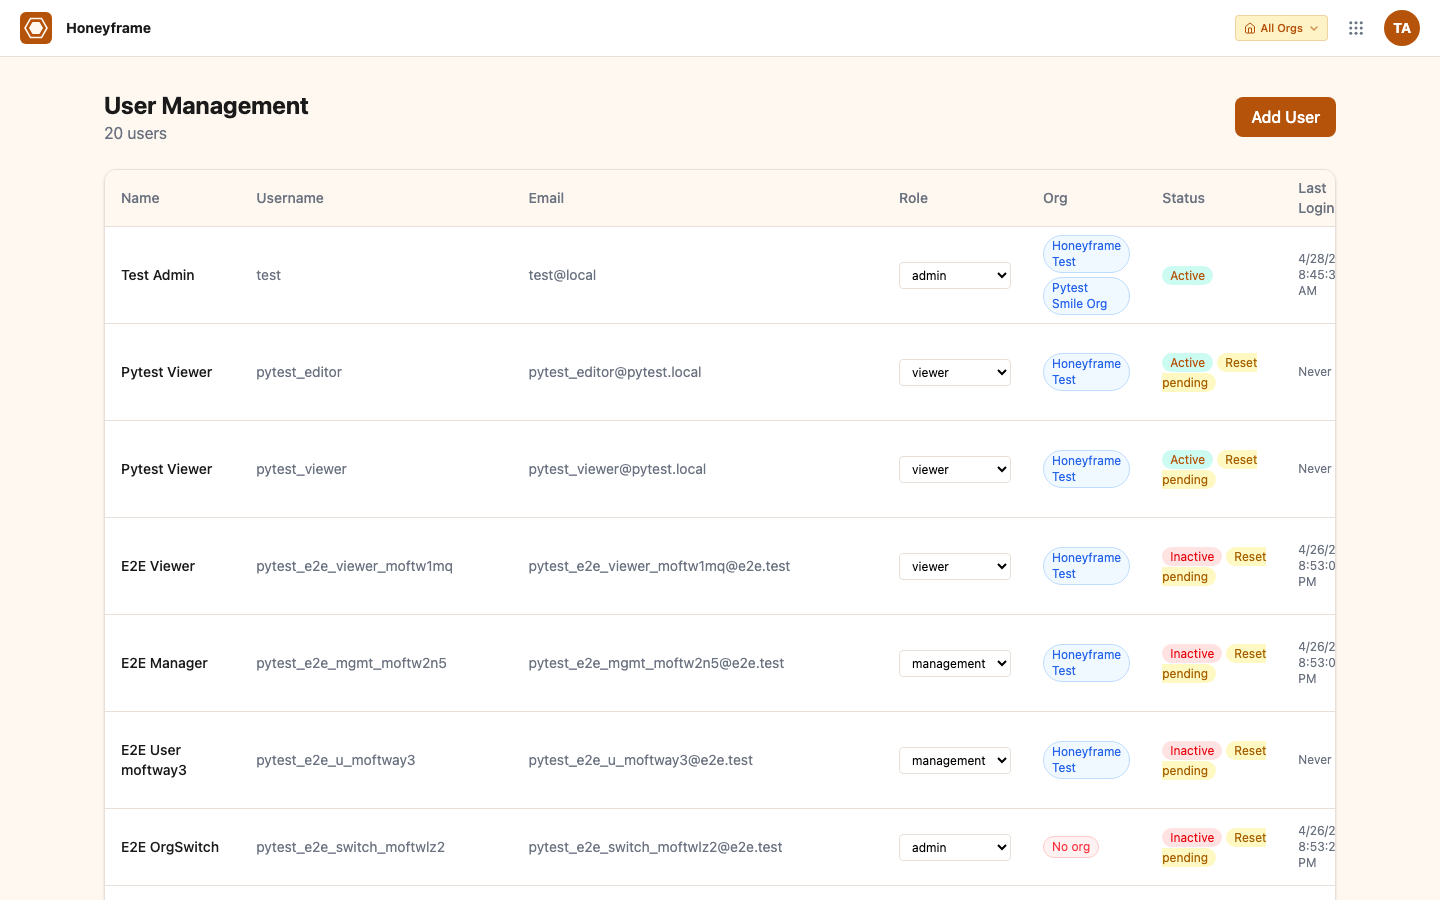
Create the user (admin only)
Go to /users (Admin → Users). The User Management page lists everyone who can sign in:
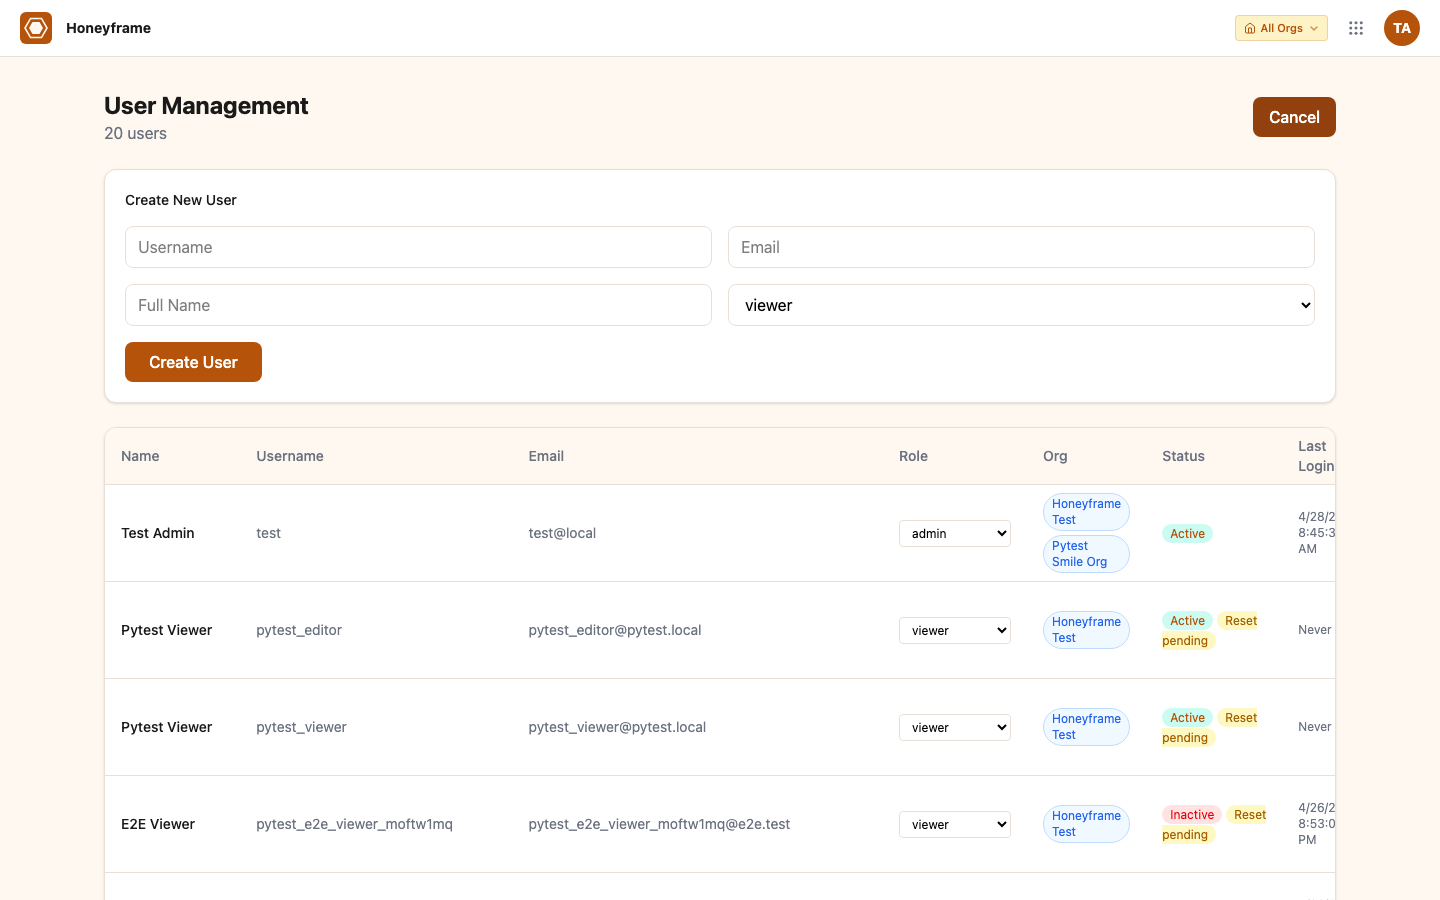
Click + Add User. Fill in username, email, full name, role:
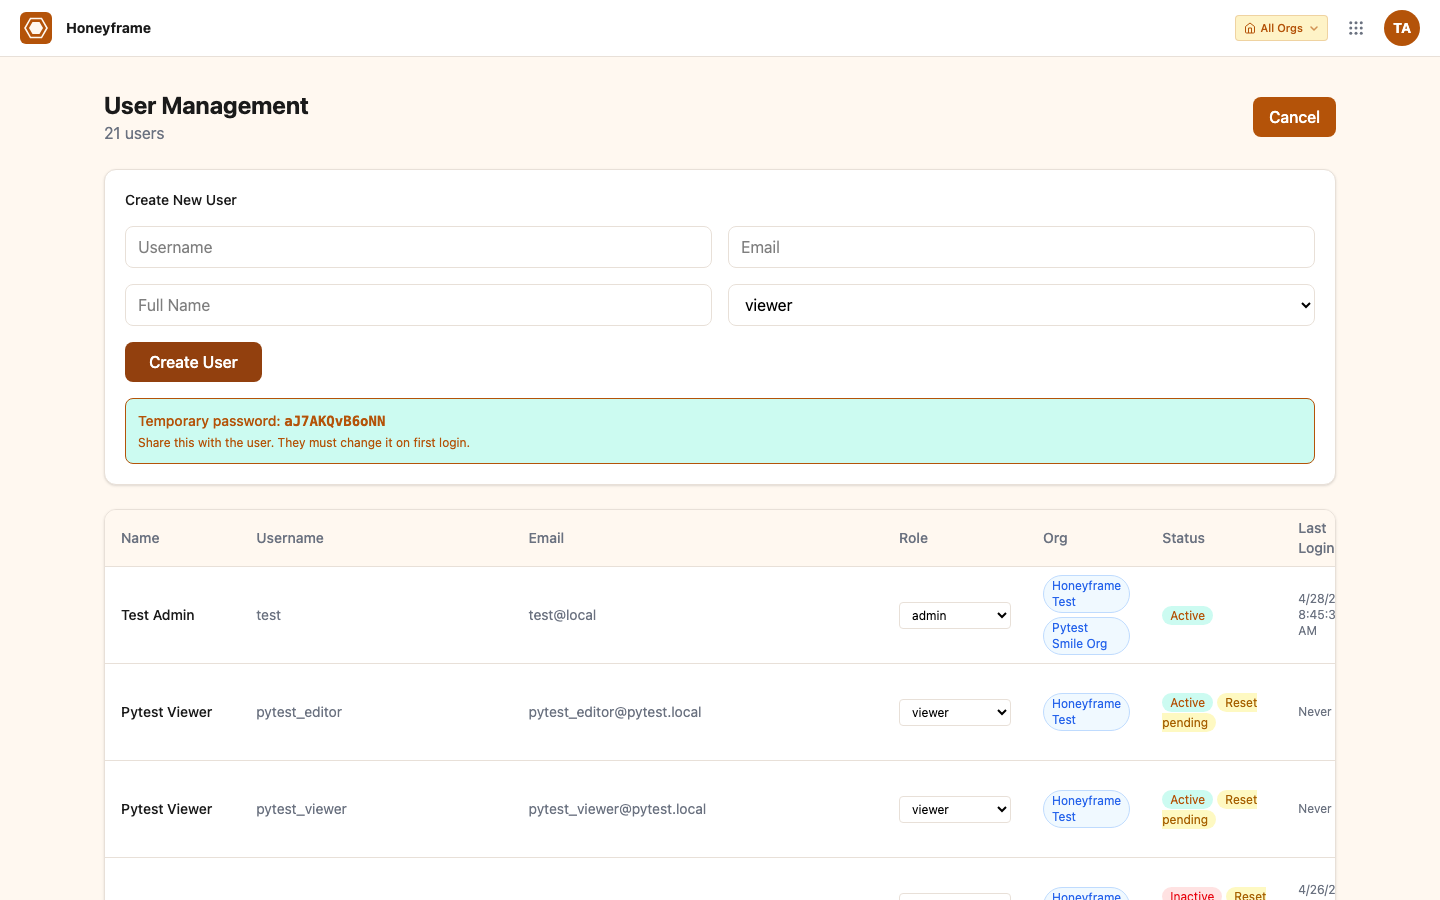
Submit. The platform generates a temporary password and shows it inline once — copy it now (you can trigger a fresh reset from the user's row at any time):
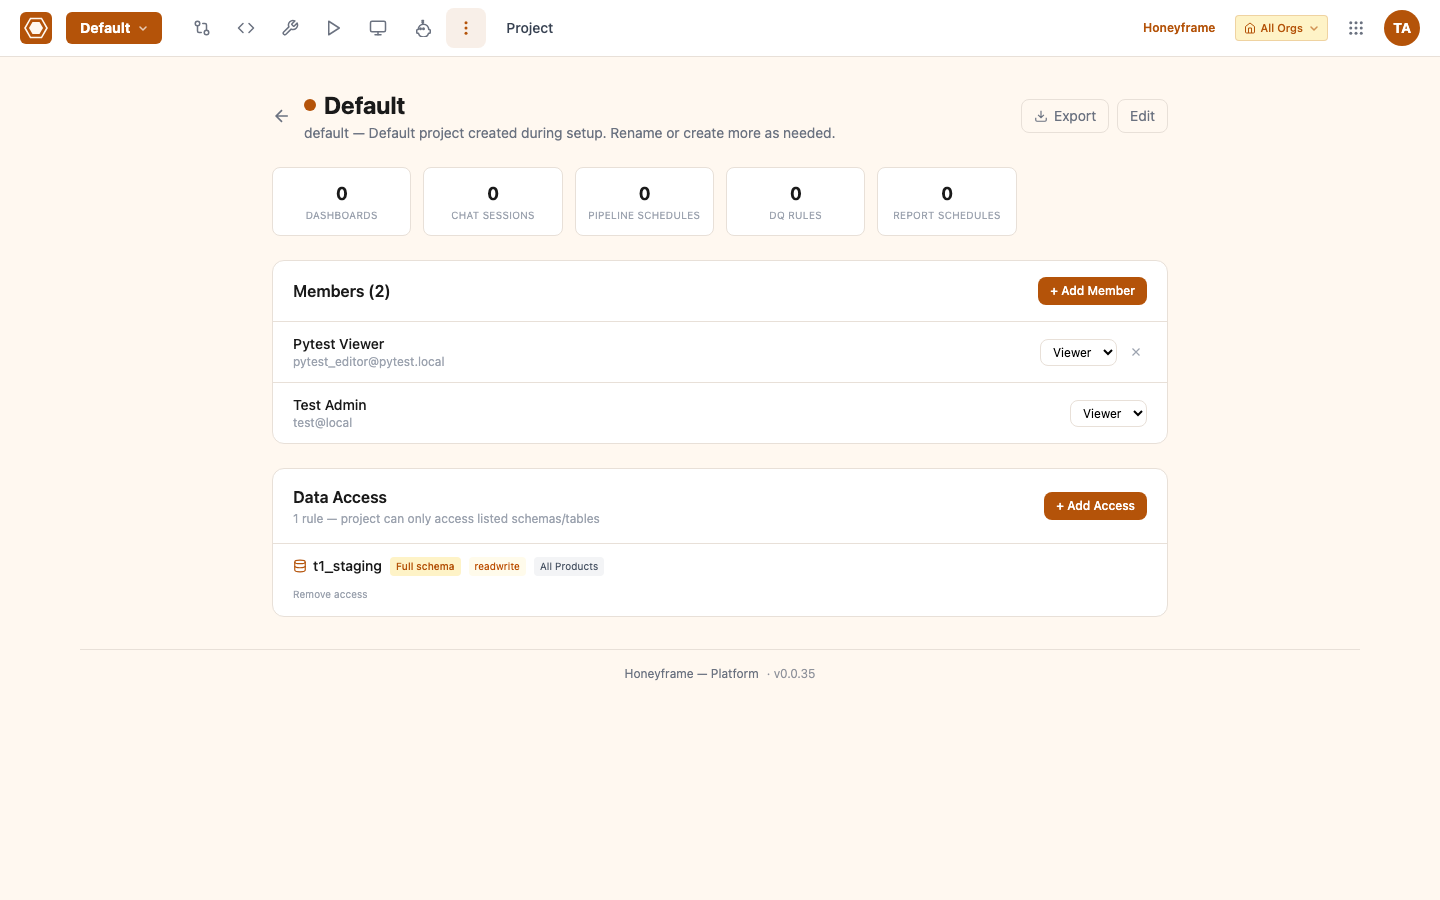
Add the user to a project
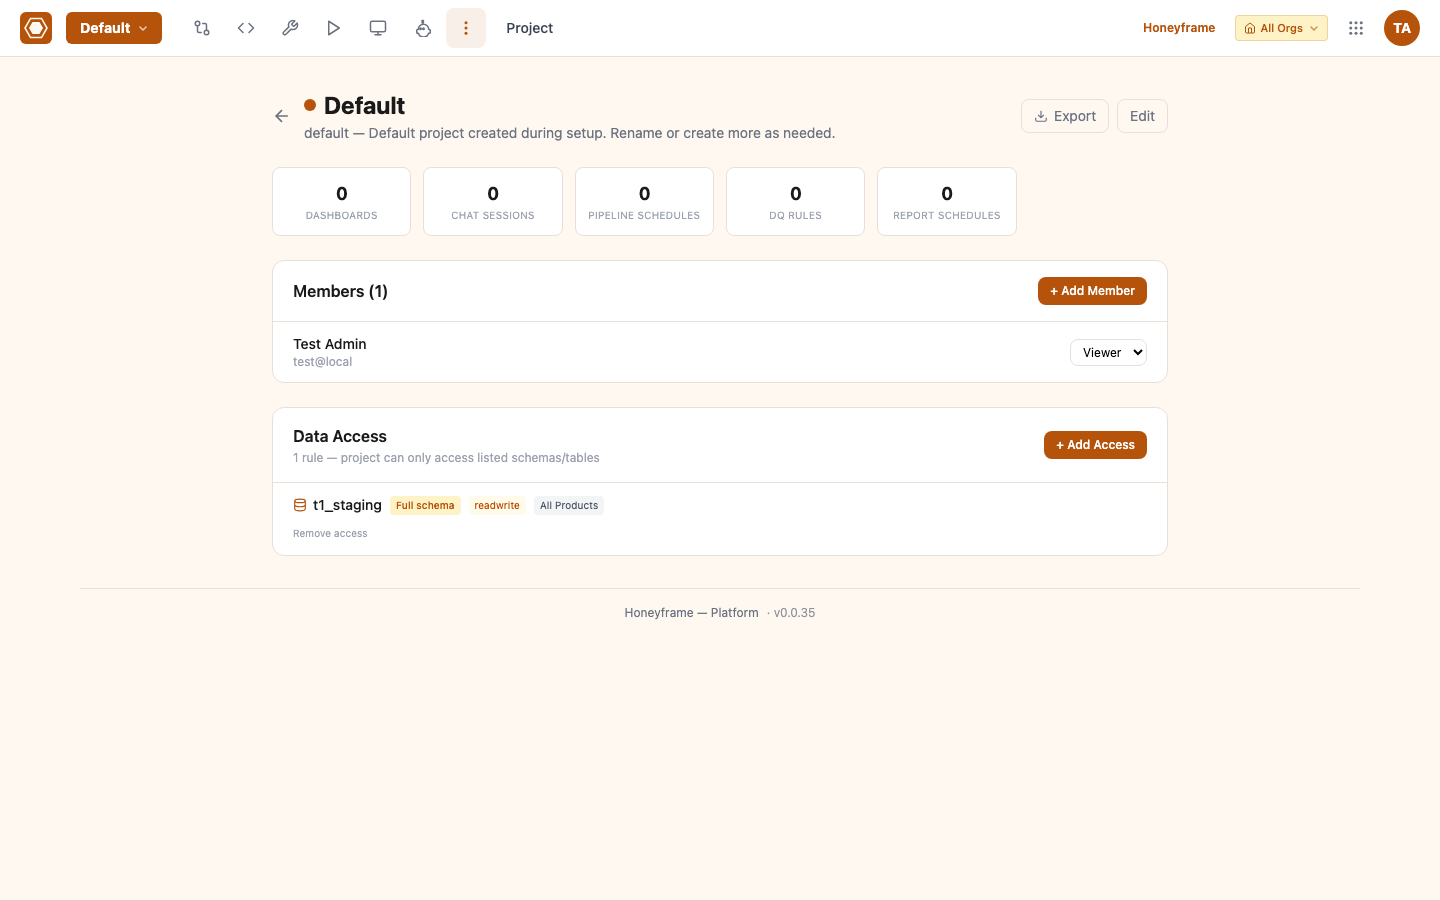
Switch to Project Settings (gear icon top-right of the project). The Members section shows current members:
Click + Add Member, pick the user you just created, set their project role, click Add:
The teammate can now sign in with the temporary password, will be forced to reset it on first login, and will see the project on their Projects list.
What's next
- Connectors — connect your real data sources.
- Plugins — driver plugins (Oracle, Mongo, Snowflake) and vertical plugins (healthcare, finance).
- Recipes — full block catalog (SQL, Prepare, Join, Group By, Stack, Python).
- Dashboards — author dashboards on top of recipe outputs.
- Security — RBAC, LDAP, audit logging, data governance.
- API — every action above has an HTTP equivalent.